
- One loose lug nut can be the difference between a safe drive and a serious accident
- Why you should re‑torque your wheels about 100 miles after a rotation
- The risks of skipping re‑torque checks
- What you need to re‑torque your wheels correctly at home
- Step‑by‑step: how to re‑torque your wheels safely
- A small habit that prevents very big problems
One loose lug nut can be the difference between a safe drive and a serious accident
Correctly torquing lug nuts or wheel bolts is not just a workshop detail; it is a critical safety step that keeps your wheels physically attached to the car. Even when a professional shop rotates or refits your tires, experts still recommend checking and re‑torquing the fasteners after a short driving interval, because wheels and hardware can settle under real‑world loads, changing the clamping force you had when you left the service bay.
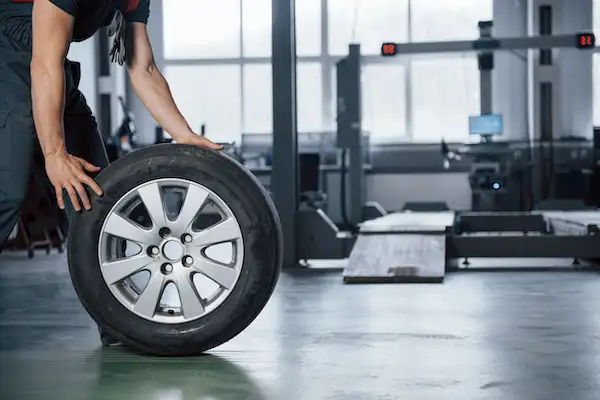
Why you should re‑torque your wheels about 100 miles after a rotation
After a tire rotation or any wheel removal, the nuts or bolts are tightened with the car stationary, before heat cycles, cornering loads and vibrations have done their work.
Over the first 50–100 miles of driving:
Metal expands and contracts slightly with temperature changes from braking and road use.
The wheel may settle more snugly against the hub face as paint, dirt or minor irregularities compress.
This can reduce effective clamping force on some lugs, even if they were spot‑on at the shop.
Re‑torquing around the 100‑mile mark confirms that all lugs are still at the correct torque once this initial bedding‑in has taken place, not just at the moment the car came off the lift.
The risks of skipping re‑torque checks
Under‑torqued (loose) lug nuts or bolts
Can allow minute movement between the wheel and hub, leading to vibration, noise and accelerated wear on studs or bolt seats.
Over time, this play can elongate bolt holes or damage threads, making secure mounting impossible without repairs or new hardware.
In worst‑case scenarios, the wheel can detach entirely while driving, with obvious danger to you and everyone around you.
Over‑torqued fasteners
Stretch wheel studs or bolts beyond their elastic range, weakening them invisibly and making later failure more likely.
Can gall or strip threads, making removal difficult and risky for future brake or suspension work.
On aftermarket wheels or tuner lug nuts, excessive torque can crack or fatigue thin sections of metal around the seats.
How often should you re‑torque?
After any tire rotation.
After any service that involves removing and refitting a wheel (brake work, hub or bearing replacement, seasonal wheel swaps).
As a general habit, roughly every 5,000 miles as part of routine maintenance, especially if you drive on rough roads.
What you need to re‑torque your wheels correctly at home
Find the correct torque spec
Your primary reference is the owner’s manual or official online specs for your exact model and year.
If you’re using aftermarket wheels or a different style of lug nut/bolt, check any documentation supplied with them; they may specify a different torque than stock.
Basic tools required
A torque wrench that covers your wheel torque range.
A socket that fits your lug nuts or bolts.
A key or special socket for any locking lug nuts.
A trim tool or flat lever to remove hubcaps if they cover the fasteners.
Choosing the right torque wrench
Some wrenches are calibrated in pound‑feet (lb‑ft), others in pound‑inches (lb‑in), so make sure you’re using the right units or convert correctly.
Select a wrench whose maximum capacity is at least about 20% higher than your wheel torque spec—for example, a 120 lb‑ft wrench if your spec is 100 lb‑ft—to keep it operating in its accurate mid‑range.
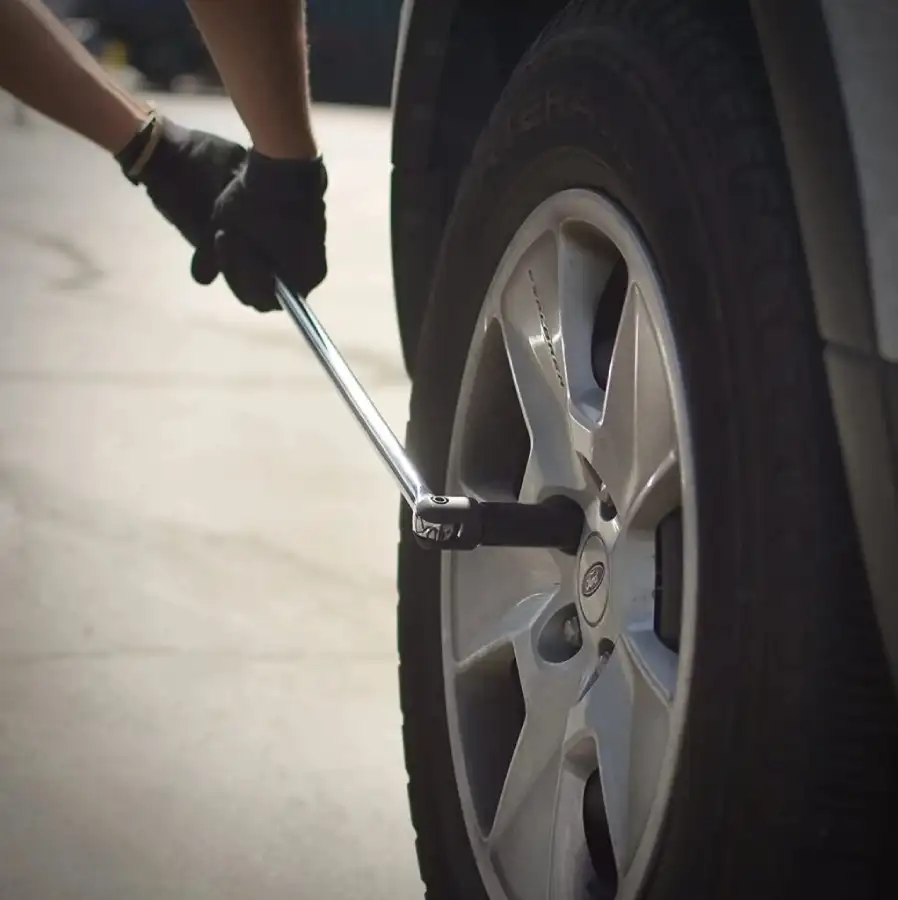
Step‑by‑step: how to re‑torque your wheels safely
Prepare the vehicle
Park on a flat, stable surface.
Apply the parking brake.
Chock at least one wheel (front and back of the tire) that you’re not working on to prevent any rolling.
Set up the torque wrench
Dial in the manufacturer’s specified torque value for your wheels.
Lock the setting if your wrench has a locking collar or screw.
Follow the correct tightening pattern
Never go around the wheel in a simple circle; use a star, diagonal or cross pattern so the wheel seats evenly on the hub.
With 5 or 6 lugs, this means always moving to the furthest opposite lug each time.
With 4 lugs, use a criss‑cross pattern (top‑left to bottom‑right, top‑right to bottom‑left).
Applying torque properly
Place the socket squarely on the lug nut or bolt, then pull smoothly on the torque wrench handle until you feel or hear its “click” or stop mechanism, which indicates you’ve reached the set value.
Do not keep pulling past that point—more is not safer; it’s simply over‑torque.
Repeat for each lug in the pattern, then move to the next wheel until all four (or more) are checked.
A small habit that prevents very big problems
Re‑torquing wheel fasteners roughly 100 miles after a tire rotation or any wheel‑off work is a quick, low‑cost habit that dramatically reduces the risk of vibrations, damaged hardware or an outright wheel loss.
Owning a decent torque wrench, knowing the correct spec for your car, and sticking to a proper criss‑cross tightening pattern turn wheel torque from a blind guess into a controlled safety check.
In an era where vehicles are becoming more complex every year, making sure the four contact points that actually keep you on the road are correctly secured is one of the simplest and most effective maintenance steps any driver can control.
